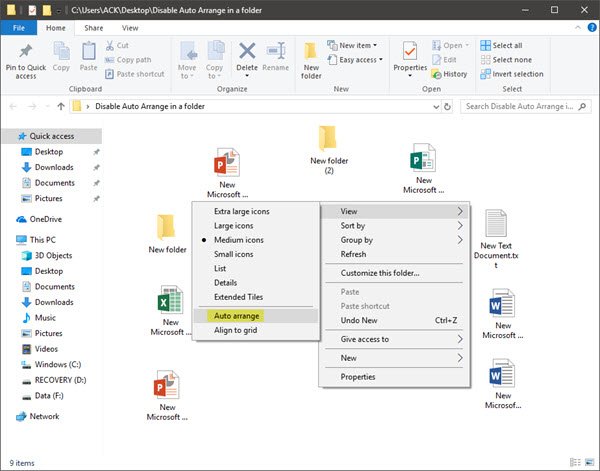
How to disable Auto Arrange in folders in Windows
While searching for a way to do this, I can across this post on Microsoft Answers. Here I found a link to a post on unawave.de that shows the way to do it manually. They have even created a batch file that automates the whole process. Although the file appears to have been created for Windows 7, I have tried this in my Windows 10 PC, and it worked just fine. So if you wish to disable auto arrange in a folder, first reset the Folder View to default and then download this file, unzip it. Right-click on the .bat file and select Run as Administrator. But before you do this, you should create a system restore point first, just in case you need to or want to go back. Do remember to right-click inside the folder, select View and then unselect Auto arrange. UPDATE: Please read the comments. This does not seem to be working in recent versions of Windows 10 and Windows 11. So if you are facing problems, best to restore your PC back to the system restore point you created before you applied this tweak.
How to manually arrange files in a folder?
While this was possible earlier, you can now no longer disable the organization of the folders in alphabetical order and manually arrange files and folders in Windows Explorer.
How to turn off auto arrange in Explorer?
To turn off auto-arrange in Explorer using Registry, take the following steps:
Create a system restore point firstNow open Registry Editor.Navigate to the following key
Delete the Bags subkeyClose Registry EditorRestart the Explorer process.
Read next: How to Disable Full Row Select in Windows 11/10/8/7 Explorer.